About Me

My photo
After many people telling me that I'm "crafty", I decided to start my own blog. I hope to to inspire others to find their crafty side. I love crafting, decorating, scrapbooking, cooking and cupcaking. I love anything related to holidays and seasons. I hope my readers will find my posts useful and fun! Enjoy!
Powered by Blogger.

Monday, July 25, 2011

Baby's First Year Pre-Made Scrapbook Gift


I've made scrapbooks for several gifts and they are always a huge hit!  I've made them both with the pictures already in the scrapbook and I've also given empty pre-made scrapbooks so the receivers can add their own pictures. 

I made a scrapbook for my friend Staci for her birthday because she was going on a cruise.  She always complains about never taking pictures on trips.  I made the scrapbook with pages for each port and also included more general theme pages for beach and cruise pages.  The first thing she told me after she got back was how many pictures she took because she had the scrapbook.  She now has a beautifully filled scrapbook of pictures, mementos, and memories that she other wise wouldn't have had because she doesn't scrapbook.  

Giving an empty scrapbook to a non-scrapbooker is great because all they have to do is take the pictures.  They can personalize it by choosing the photos and by journaling on pages with stories and memories. 

Giving a filled scrapbook always gets a wow reaction (and sometimes even tears) when you give it to the reciever.   

Baby scrapbooks are a great gift for a shower or hospital gift.  Even if the Mommy is a scrapbooker, who has time to scrapbook during the first year?  The scrapbook can be laid out like a baby book. 
Here are photos of pages of a pre-made baby girl scrapbook that I made for a gift...


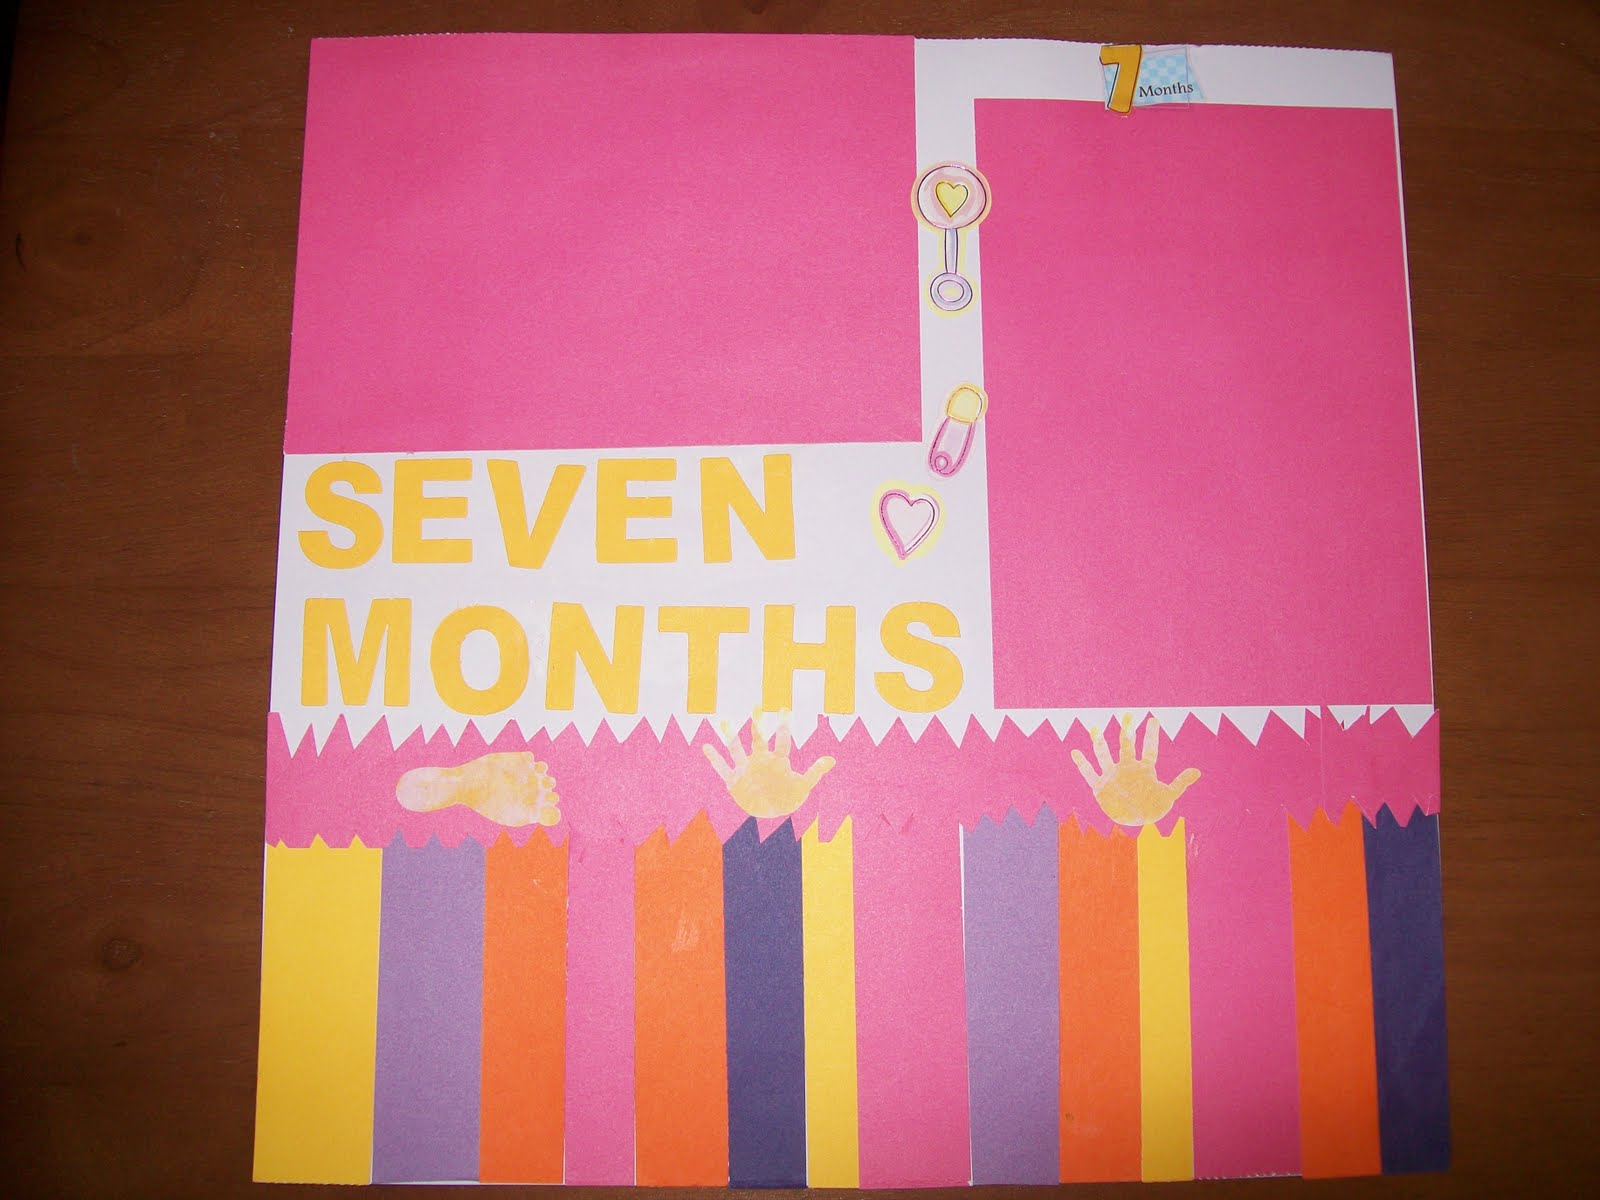
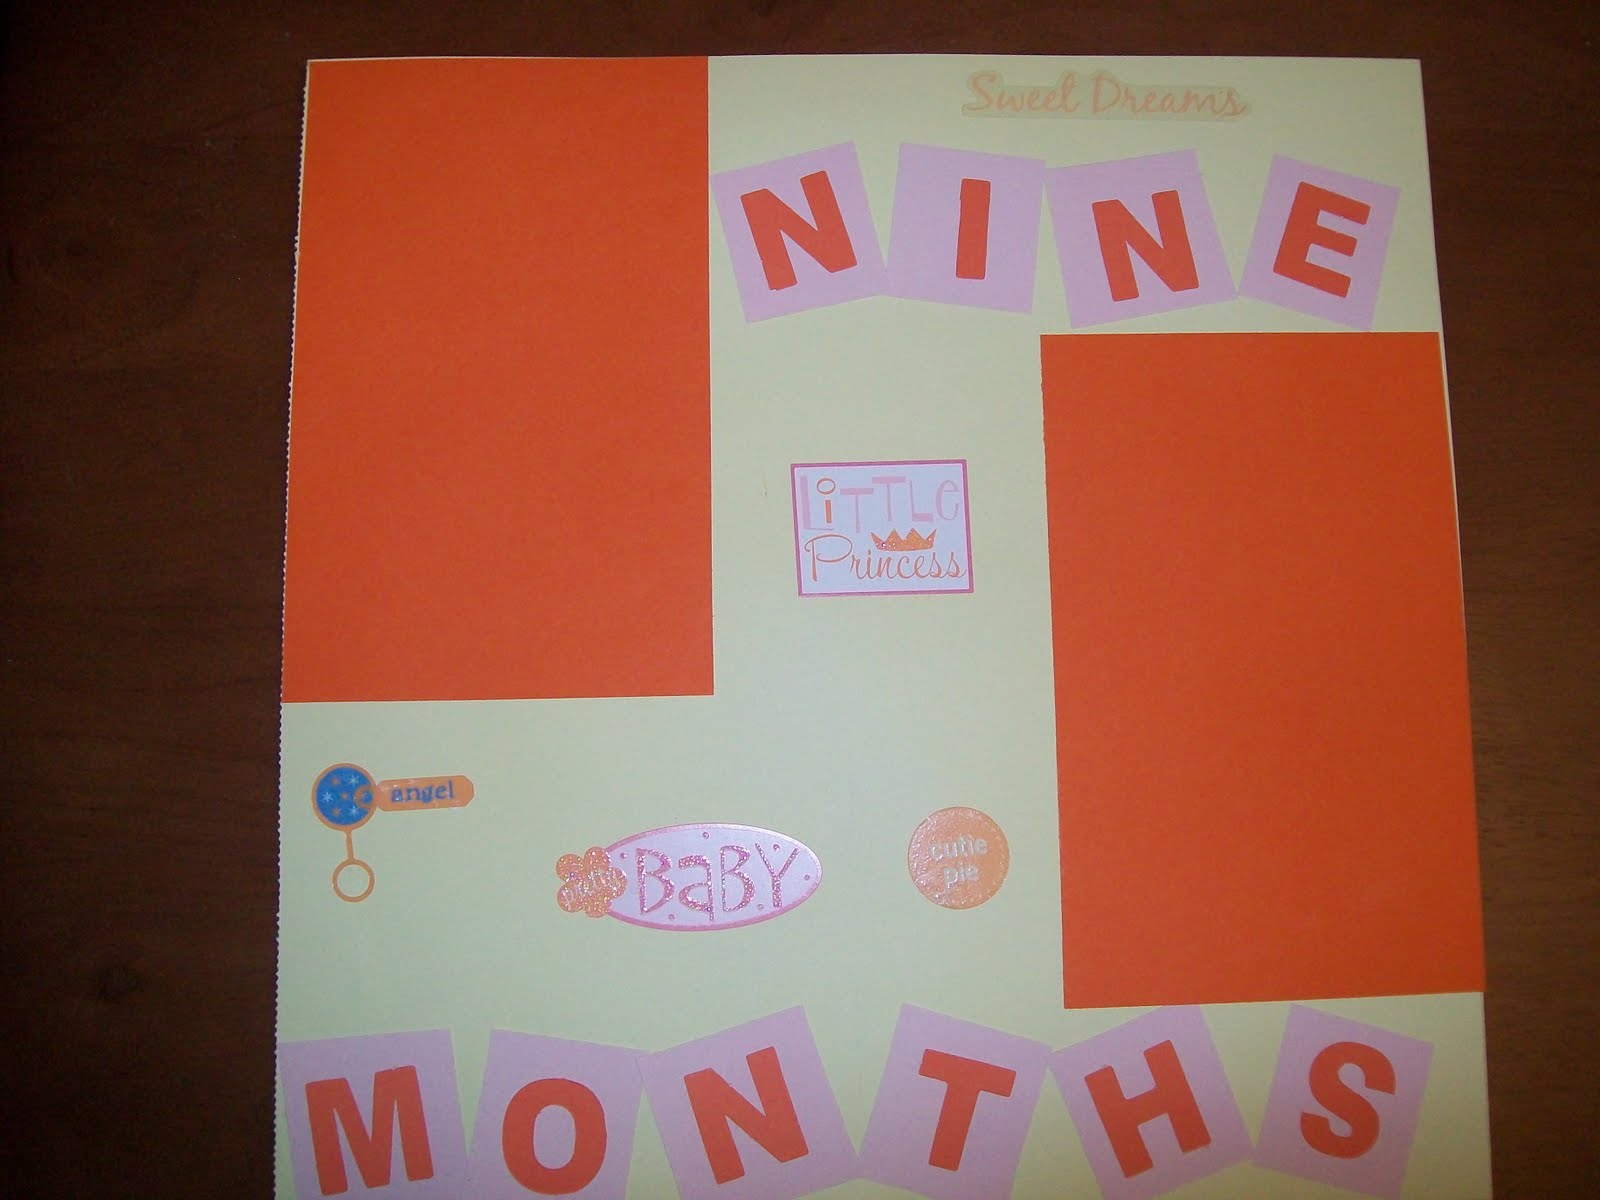
Each page contains a spot for one or two 4x6 photos.  When I give a scrapbook, I include a pack of acid free glue sticks so all the receiver has to do is get their photos printed and glue them in!


Monday, July 18, 2011

Microphone Cupcakes

Let me first just start off by saying that I probably will never make these again! This was one of those projects you see in a book and think, oh my gosh aren't those cute! Well they are cute but they were such a pain!  I will probably not make them again but I did want to show some of the trail and errors I wished someone had showed me prior to taking on this project.

The little girl I nanny for was going to the Taylor Swift concert for her birthday.  As a surprise her Mom asked me to make microphone cupcakes with a letter scramble that spelled "Taylor Swift".  After much trial and error and a few ice cream cone boxes and donut holes later...I finally did it and here is how...
(and my apologies for the terrible pictures...my camera battery was conveniently dead the day I made these!)

Apparently they make "kid cones" that are smaller but all I could find was the standard cones...after looking in 6 grocery stores, I was done looking! I had to settle for the standard cones that are too tall and too wide for the donut holes.  I had to cut off the top and play around with how much exactly to cut off to make the best fit. 


 Then I "spray painted" the cones with food safe paint.  This particular can came from Party City but craft and baking supply stores sell it also.  I sprayed the cones gold but you could use whatever color matches your theme. 

 Now this is where you have to play around to get the donut hole to fit snug in the cone.  At first I tried to use the Crispy Creme donut holes that you buy from the grocery store but they were not big enough and were also not very round. 
I also put M&Ms in the bottom of the cone before attaching the donut hole to help prevent it from being top heavy.  I'd also recommend doing this part in advanced and allow the icing to harden really good before doing the next step...


After allowing the donut hole to harden completely on top of the cone, I spread icing on the top and...

dipped it in silver cake decorating sprinkles. 


Then I poked a hole in the bottom to put in the "cord".  I used these long skinny Jelly Belly jelly beans but Tic Tacs would also work. 


I also had to use my hand to kind of cup it around the ball to make the top round after adding the sprinkles. 


Then I attached the microphones to the cupcakes while the cupcake icing before it hardened.  I used icing to write the letters "Taylor Swift" on the cones. 

Thursday, June 16, 2011

Robot Day!


Last week I showed you the Summer Bucket List I made with the kids that I nanny and this week I am going to show you our "Robot Day".  This week one of the two kids I nanny was at sleep away camp all week...now what to do with the boy to entertain him all week?  We ended up staying busy with my next door neighbor and her kids but I needed something to do on the day that they couldn't get together.  Every time we go to the library he loves to find the Robot books.  It is the first thing he asks for when we get to the library.  We headed to the library and came home with 4 Robot books... 


We read the Robot books...


 then he drew a Robot picture on a piece of large drawing paper while I got the supplies ready to make our Robot cupcakes. 

Robot Cupcakes...
In my previous entry called Oh, the Joys of Cupcaking I showed you some of the cupcakes I have made from my favorite cupcake book series called Hello Cupcake.  This Robot idea also came from that series.   


 Tomorrow I will post the full tutorial on how to make these cupcakes so check back if you would like to see how to make these step by step. 

Robot Recyclables

 Next we gathered some recyclables... 


and I spray painted them. I'd actually recommend doing this a day ahead of time to allow proper drying time.  Not my best spray paint job for sure but it was HOT and I also had a 5 year old drilling me with questions about the spray painting process!


Then we cut a Pringles can in half which we used as the legs...

and we covered them in tin foil. 


Then we used a blue plastic mini trash can from the Dollar Tree (the only thing I bought for the entire project) and covered the top with poster board and tin foil...


Then we wrapped the base of the trash can in tin foil and I used hot glue to attach the body parts as the 5 year old gave directions about where each part should go. 


Then we added some pom pom buttons, a face using ribbon and googly eyes and added some antenna things with floral wire and pom poms. 


A Great End to Robot Day...


Then we ended the day with Robot sidewalk chalk drawings.  We used some of the Robot books to help us with inspiration. 

This was a huge hit and by far one our best days of summer so far! 

Thursday, June 9, 2011

Summer Bucket List!


Summer Bucket List.  Summer activity lists have been a popular thing featured in blogs and it got me thinking...I've seen them represented in a variety of ways but what about an actual bucket?  As some of you know I'm finishing up my degree to be an elementary school teacher and in the summer I nanny two kids.  We stay busy both for their sanity...and mine!  What better way to get them excited about summer vacation and all the fun summer activities then to have them create a list of things they wanted to accomplish and do this summer.  Some of items are activities but they also set personal goals for themselves such as learning to swim and goals for gymnastics.  My favorite goal (being a teacher)...our goal to read 100 books this summer!  I will share more about this with you later.  What better way for them to monitor their goals then to have them actually visually see the things they have accomplished.  They are SO excited about this! 

   First I picked up two summer sand buckets at Michaels.  I used paint markers to write their name and summer bucket list.  I used some ribbon and craft glue to box in the words.  I didn't include the year so that the buckets could potentially be used again next year. 


  Then I laid out scrapbook stickers for the kids to pick from and put on their bucket.  They used some summer fun stickers and also some of their favorite things (soccer, gymnastics etc.).

Then after the kids attached their stickers, they decorated with colored Sharpies. 


 Then I picked up craft glue and clothes pins...

cut cardstalk (in a variety of colors) to fit (both length and width) the clothes pins.


Then wrote with a thin felt marker the goal/activity and used craft glue to attach it to the clothes pin. 

Then attached the clothespins to the outside rim of the bucket.

As they complete the activities/goals over the summer, they can drop the clothes pins in the bucket.  Then they will have the activities/goals they still need to complete on the outside rim.  

This is one of my new favorite projects for kids.  I even made a small one for myself and included all those tasks that need to be done but I never get around to...organizing recipes, updating i-tunes, backing up digital photos...and the list goes on and on! 

Linking up to these blogs: